PHOTOGRAPHY & VIDEO STORYTELLING · LEVEL 1 · LESSON 1
Camera Ready: Make Your First Intentional Frame
Published Lesson · Version 1.0.0
Can one small change make your photo tell a clearer story?
Your mission
Take Photo 1, change one thing, take Photo 2, and explain which photo works better.
Expected result
Photo 1, Photo 2, one selected photo, and one spoken or written reason.
Estimated time
Plan about 10–15 minutes.
What you need
- one prepared camera
- one object chosen from three choices
- one place set up for the lesson
- one person who can look at the selected photo
Take your two photos
Pick the job
Choose one of the three objects set out for the lesson. It could be a favorite toy, shoe, mug, sports item, small model, or something you made.
Your intention is what you want the viewer to notice or feel.
Finish one sentence:
- “I want the viewer to notice ______.”
- “I want my object to look ______.”
Try a word such as important, tiny, powerful, or cozy. You could also help the viewer notice a color or texture.
Take Photo 1
- Stand or sit in the place set up for the lesson.
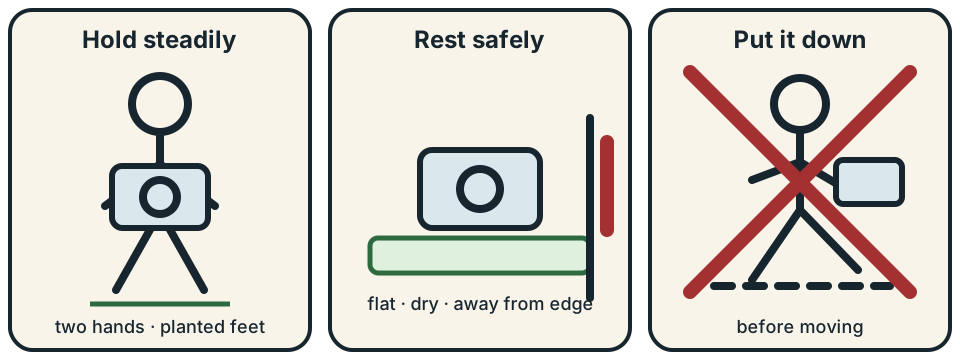
- Plant your feet and hold the camera with two hands.
- Take one photo.
Look carefully
Open Photo 1. What do you notice first? Look around all four edges. Is anything distracting you from your intention?
Change one thing
Choose only one:
- Move closer.
- Move left or right.
- Hold the camera upright or sideways.
- Turn the object.
- Simplify the background.
Put the camera down before you move.
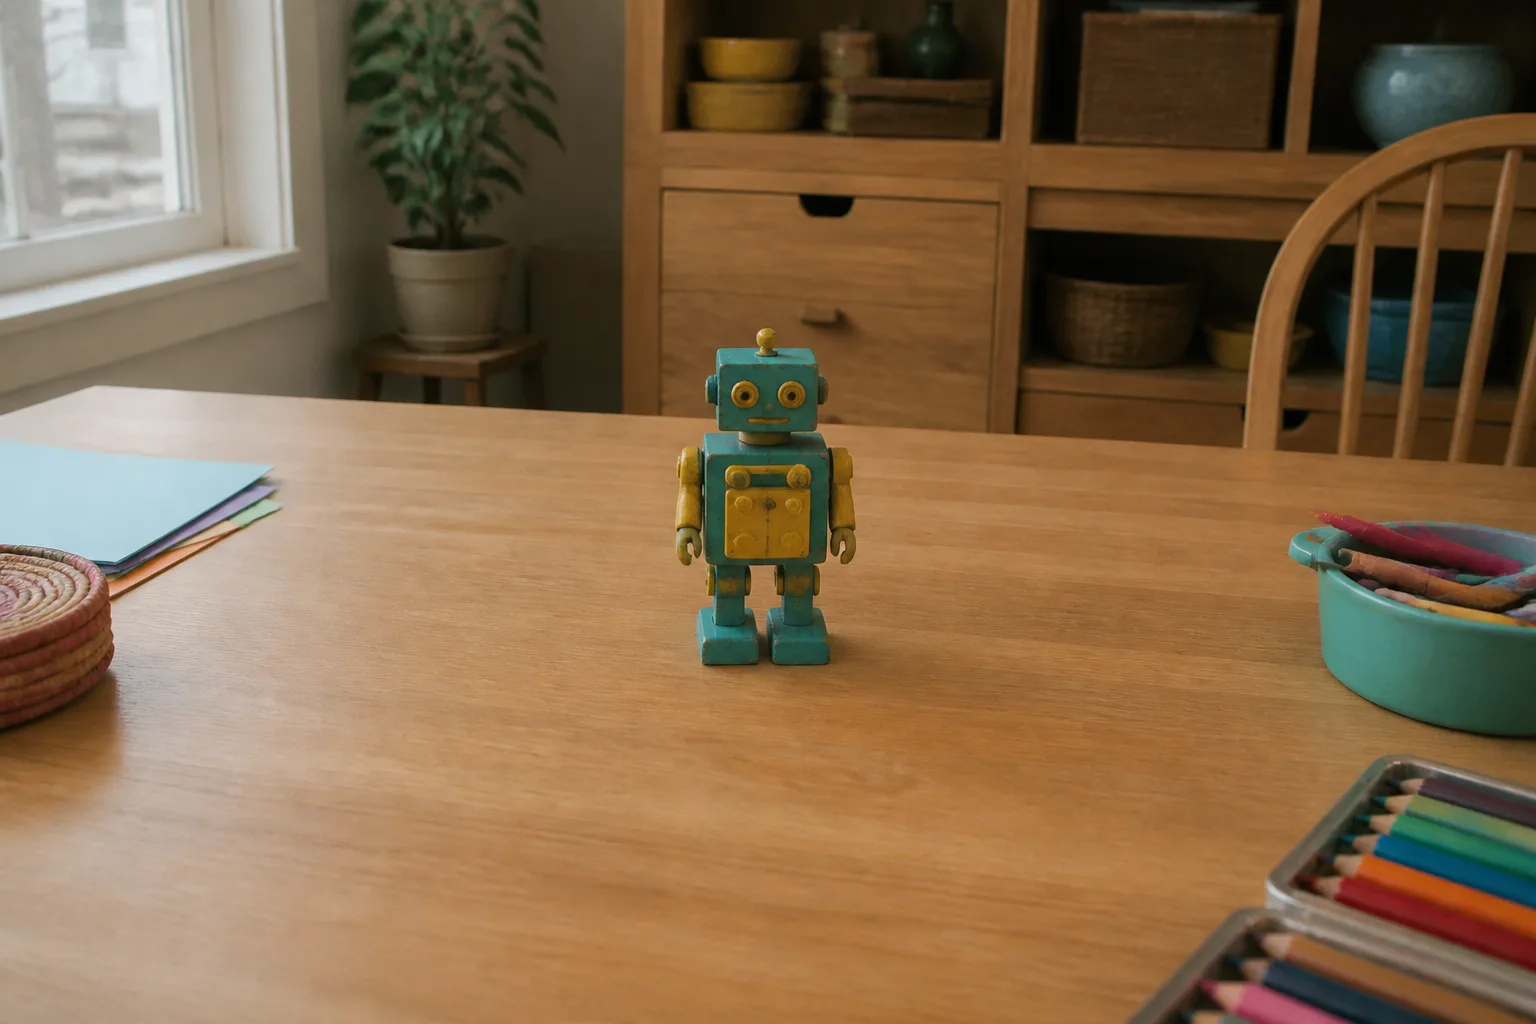 Photo 1
Move closer
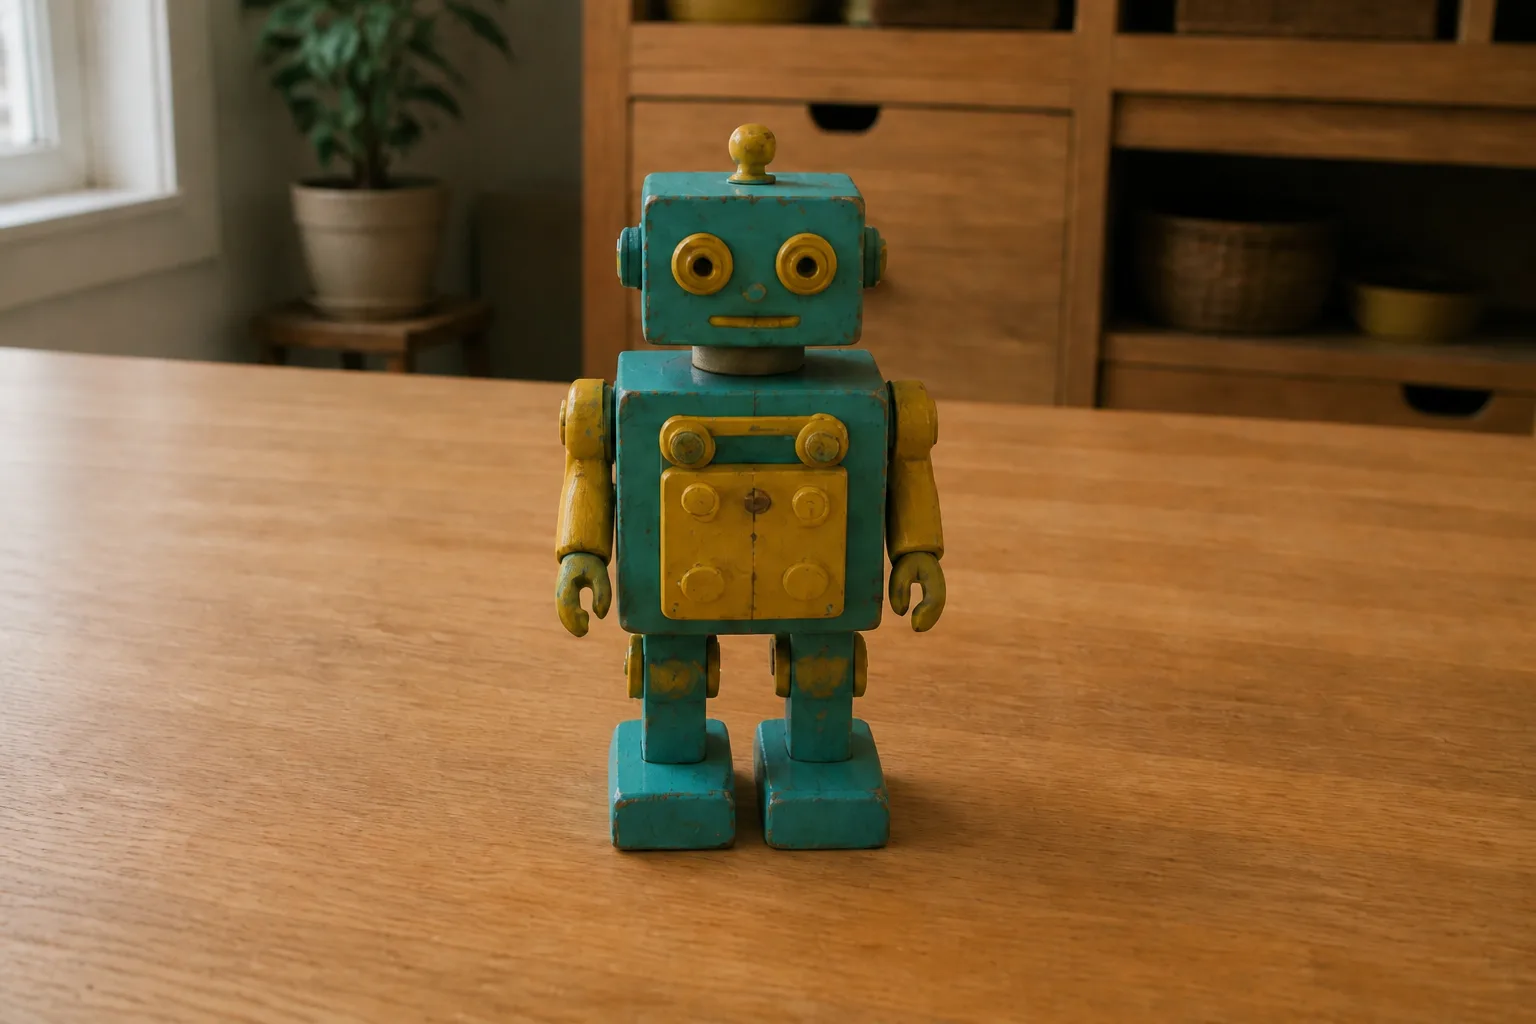 Photo 2
Example images created for this lesson. Only one thing changed: the camera moved closer.
Take Photo 2 and choose
- Plant your feet again.
- Take Photo 2.
- Compare the two photos.
- Finish: “I choose Photo ___ because ______.”
Test and reset
- Show your selected photo without explaining it.
- Ask: “What did you notice first?”
- Say whether the answer matched your intention.
- Point to the photo you chose and explain why.
- Return the camera and object.
- Photo 1
- Photo 2
- One selected photo
- One spoken or written reason
What changed?
The camera did not decide what mattered. You gave the photo a job, changed one thing, and checked whether the viewer noticed what you hoped.
Your selected photo does not need to look professional. It needs to show a choice you can explain.
Try another intention — optional
On another day, use the same object with a different intention. Make it look tiny, powerful, cozy, mysterious, or important. This is optional; the lesson is complete after your two photos and audience test.
Help if stuck
Open simple help
- The background grabs your attention: move closer or move a little left or right.
- A finger or strap is in the photo: put the camera down, fix your grip, and retake Photo 2.
- The photo looks blurry: hold still and take Photo 2 again.
What’s next
Next: Photograph the same object six different ways and discover how viewpoint changes the story.
Parent session
Complete before the learner starts · setup, responsibilities, and resources
At a glance
- Readiness: Approximately age 10+, with no prior camera experience.
- Time: Plan 5–10 minutes for parent setup and 10–15 learner minutes. One family completed the learner path in about 10 minutes.
- Learner owns: object choice, intention, shutter press, review, one visual change, selection, explanation, and audience test.
- Parent owns: device settings and accounts, cloud behavior, location metadata, permission/privacy inspection, file names, copying, backup, permanent deletion, public sharing, and device-condition decisions.
Before the activity
- Prepare one already-owned camera that can take and display a photo. Do not ask the learner to choose a technical workflow.
- Approve three interesting object choices and one stable indoor place. Remove private information from view.
- Confirm the learner can take and review a photo. Demonstrate only the needed controls and a two-handed grip.
- Decide how you will save Photo 1 and Photo 2 after the learner points to the selection.
During and after
Let the learner make the creative decisions. Ask what changed and why. Step in for a person, private detail, device problem, or change of location. After Step 6, save the two photos using the household's chosen method; the learner does not manage names, copies, backup, deletion, or sharing in this Lesson.
Parent setup and troubleshooting resources
- Parent/Device Preflight and Device Workflow Profile — normally completed once for the approved Track device.
- Camera safety and location preflight
- Permission, privacy, and responsible sharing
- Files, originals, transfer, and backup
- Frame-edge scan card
- Visual Story Quality Ladder
- Selection and critique prompts
- Visual Story Notebook
Assessment
The Lesson is complete when the learner made exactly two photos, chose one, gave a visible reason, and compared the viewer's first response with the intention. Record adult help honestly. Do not reward expensive equipment or adult polish.